Alcohol Ink Coasters: Step-By-Step Process, DIY Tips, And Materials
Alcohol ink coasters are vibrant, one-of-a-kind decorative items that blend alcohol-based inks on non-porous surfaces like ceramic tiles. They are a popular DIY project because they create unique, stunning color combinations and marbled effects.
In this guide, we break down each step for alcohol ink coasters DIY projects. Read on to learn everything from choosing materials to finishing with resin, allowing you to create beautiful, durable alcohol ink coasters that make an impression.

Key Takeaways
- Alcohol ink coasters are made by applying alcohol inks to tiles and sealing them, and you need ceramic tiles, isopropyl alcohol, inks, gloves, and a sealant.
- Backings like cork or rubber improve durability and protect tabletops, while resin or spray sealant preserves color and delivers waterproof protection.
- This is a project suited to beginners and experts alike, and each alcohol ink coaster is a unique work of art.
- We supply high-quality custom coasters that can be printed or etched in a variety of styles on many different materials to create something unique.
Table of contents
Alcohol Ink Coasters
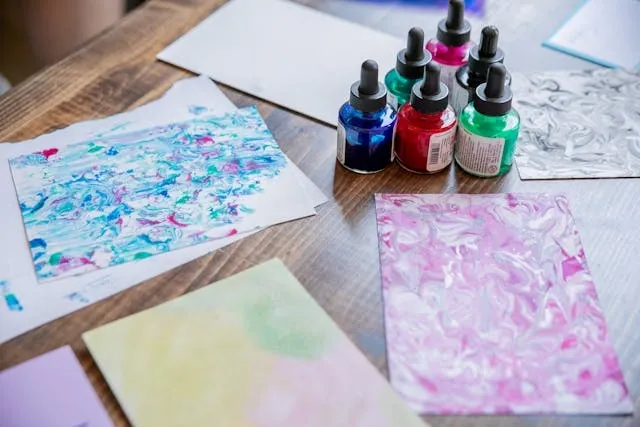
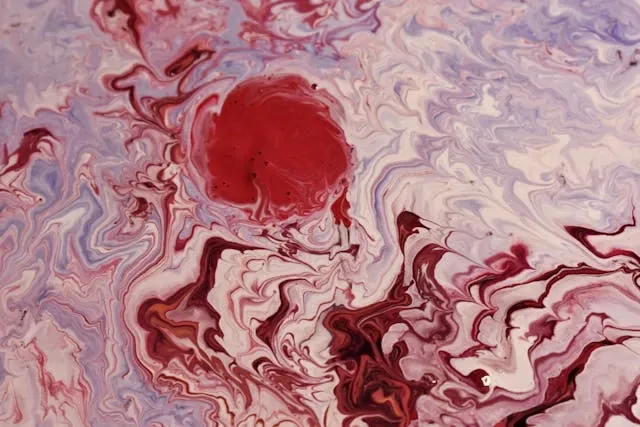
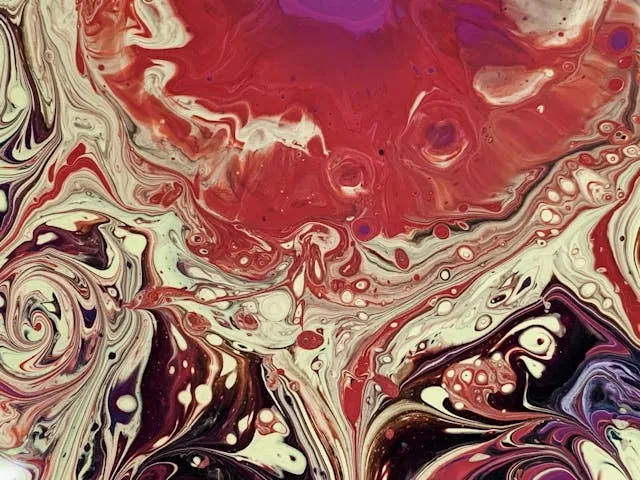
Alcohol ink coasters DIY projects start with choosing the right base. The most common choice is white ceramic tiles, perfect for showcasing vibrant colors. Alcohol inks react with isopropyl alcohol to create fluid, abstract patterns with stunning depth and movement.
Unlike other painting methods, you can create these coasters without the need for brushes, instead using:
- Droppers
- Heat tools
- Straws
Once you achieve the desired effect, the coasters are sealed with a protective topcoat like resin or UV-resistant spray, resulting in a durable, glossy finish. If you don’t want to make alcohol ink coasters by hand, you can use our service to create custom ceramic coasters in bulk with the same colorful designs.

Step 1: What Project Ingredients Do You Need?
To begin your alcohol ink coasters DIY project, gather your materials. You will need:
- *Ceramic tiles (usually 4” x 4”)
- Alcohol inks in various colors (ink chemistry is important)
- 91% or higher isopropyl alcohol
- Gloves
- Paper towels
- Sealant
You will also need tools like droppers, straws, or heat guns to help with ink manipulation. Acrylic paint or markers may also be useful to color the sides for a finished look. Set up a well-ventilated workspace, preferably over a covered surface to ease cleanup.
Many artists use silicone mats or trays to contain spills. Once everything is collected, you are ready to get started creating your alcohol ink coaster masterpiece.
Step 2: How Do You Spread Alcohol On The Tile?
Spreading alcohol on the tile is a crucial early step to make alcohol ink coasters. Start by applying a generous layer of 91% isopropyl alcohol across the clean tile service. A dropper or pipette is perfect for doing this.
With this base layer, you can allow the ink to flow, blend, and create marbled effects organically. Ensure even coverage to avoid problems that might interfere with the final design, such as:
- Harsh lines
- Dry spots
Some creators tilt the tile slightly or gently blow on the alcohol to ensure even distribution. With this foundation step, your alcohol ink coasters DIY project will have greater fluidity and beauty.
Step 3: How Do You Add Ink Droplets?
Adding ink droplets to your alcohol base is what makes the magic happen. Use your alcohol inks sparingly - you only need a drop or two at a time to create your unique drink coasters. Watch how they expand and interact with the base layer.
You can drop inks close together for blending or far apart for contrast. These colors will move organically to create rich, unique patterns. You can push the ink in different direction using things like:
- A straw
- An airbrush
- A heat tool
Act quickly before the alcohol dries up. This stage of the alcohol ink coasters DIY process is experimental and lots of fun. The final appearance will reflect your technique and timing.
Step 4: How To Avoid White Spots In Your Design?
White spots often occur if the alcohol evaporates too quickly, or if the tile beneath isn’t fully saturated. To prevent this, make sure your tile has a wet layer of alcohol before you add any ink. You need to work quickly to avoid evaporation gaps.
If white spots appear, add a small amount of alcohol and blend the surrounding ink towards that area. You could also layer inks to help mask or fill in bare spots. Let each layer dry partially before you reapply for smoother blends.
It is important to manage these issues to achieve a polished alcohol ink coaster - practice makes perfect!
Step 5: Why Paint The Sides Black?
Painting the sides of your alcohol ink coaster black can enhance the overall appearance, giving it a finished, professional look. This can help it match with your square tablecloths for a cohesive look.
Since most ceramic tiles are white or neutral-colored, the sides can appear unfinished or stark against vibrant tops. It is best to use acrylic paint or a black paint marker to provide the strong coverage and quick drying you need.
This is an optional step, but it is highly recommended if you’re creating alcohol ink coasters to sell or gift. The sleek contrast frames the artwork and creates a striking look.
Step 6: How Do You Apply The Artresin?
Applying ArtResin or a clear epoxy resin is an important step to protect and beautify your alcohol ink coasters. Mix the resin according to package instructions - typically equal parts resin and hardener.
Once the two parts are together, stir gently for several minus, trying to avoid air bubbles. Pour or spoon the resin onto the coaster and allow it to self-level. A heat gun or torch may be useful to remove any bubbles that do form, and you must leave it to cure for 24-72 hours on a dust-free surface.
Many alcohol ink coasters DIY creators rely on resin as it is clear and resistant to wear and moisture.

Step 7: Why Apply Backing To The Coasters?
Adding backing to your alcohol ink coaster improves functionality and protects both the artwork and your furniture. Common backing options include:
- Cork sheets
- Felt pads
- Rubber bumpers
These materials are great for preventing the tile from scratching tabletops, and they add a non-slip property as well. Cut the backing to size and adhere it with a strong glue, or choose a peel-and-stick version. If your alcohol ink coaster DIY projects are intended as gifts or for selling, this detail adds a little professionalism.
Adding a backing is a small step that increases the appeal and usability of your coasters.
Step 8: How Do You Wrap And Present The Finished Product?
Presentation makes a big difference when you gift or sell alcohol ink coasters. Consider wrapping sets in twine with a kraft paper tag for a rustic look, or placing each coaster in a clear sleeve for protection. Don’t forget about the environmental impact of different packaging materials.
Branding elements can make a big difference, so consider things like:
- Custom logo stickers
- Care instructions
For sellers, consistent packaging improves customer perception and encourages repeat purchases. Alcohol ink coasters DIY projects can be turned into elegant, ready-to-gift items with thoughtful packaging.
What Materials Are Needed To Make Alcohol Ink And Resin Coasters?
To create stunning alcohol ink coasters, you need a few essential supplies, so let’s look at them:
- Ceramic tiles (usually 4” x 4”)
- Alcohol inks
- 91% or higher isopropyl alcohol
For protection, you should have gloves, a sealant, and options tools like a heat gun or straw for controlling the ink flow. Masking tape can help control resin drips, while silicone mats protect your work surface against spills.
If you want a vibrant, eye-catching design without doing this messy work yourself, you could purchase beautiful custom coaster art from our online store. You create the designs and we bring them to life on a range of materials.
How Do You Create Your Alcohol Ink Design?
To design a unique alcohol ink coaster, start with a clean tile and apply a layer of isopropyl alcohol. Add drops of ink and use tools like straws or heat guns to move the color. Create dynamic blends and flowing patterns by rotating the tile or blowing air in different directions.
Create shimmering effects with added sparkle by applying things like:
- Mica powders
- Metallic alcohol inks
Each alcohol ink coasters DIY project becomes a unique expression through color and motion. Don’t worry about perfect symmetry - this approach to make custom coasters thrives on organic shapes. Practice with different techniques to find your style.
Looking to create custom coaster tiles with unique designs?
If you want custom tile coasters without all the DIY effort, our sublimation-printed coasters offer the right aesthetic with your chosen design and high-quality craftsmanship.
How Do You Seal And Protect Alcohol Ink Coasters?
Sealing is essential for protecting your alcohol ink coasters from issues like wear, moisture, and even IV fading. You have two main options for this:
- Spray sealants: Apply multiple coats of a UV-protective acrylic spray in a well-ventilated area.
- Epoxy resin: Achieve a glossy, glass-like finish by pouring ArtResin over the coaster surface.
Resin is great for added durability, so we recommend it for high-use items. Whichever method you go with, proper sealing ensures your alcohol ink coasters DIY efforts are built to last. With a sealed alcohol ink coaster, your design will retain its brilliance without smudging, so it is safe for everyday use.
What Do You Seal Alcohol Ink With?
When you reach the stage of sealing your alcohol ink coaster, you have several options, each of which has its own pros and cons.
- Acrylic spray: These sealants are popular because they are easy to use and dry quickly. Opt for a UV-resistant variant for protection against fading.
- Epoxy resin: This is a little more complex to apply, but it provides a thick protective coating with a high-gloss finish.
- Mod Podge: This is another option, but it’s less durable and not waterproof.
Alcohol ink coasters make some of the best coaster designs, but a professional result is important if you intend to gift or sell yours. Test your chosen sealing method first on a sample tile to ensure it will work with your ink brand.
Is Alcohol Ink Waterproof When Dry?
Alcohol ink is not inherently waterproof once it dries. Once the alcohol evaporates, the pigments stay on the surface, but they are still susceptible to moisture unless sealed. That’s why sealing is essential before you use your alcohol ink coasters with your custom coffee mugs.
Without a protective coating like epoxy resin, the design can do any of the following when exposed to moisture and heat:
- Smudge
- Fade
- Run
For alcohol ink coasters DIY creators, this is a crucial step. Never skill sealing! A proper finish protects your art and enhances its color and sheen, ensuring your alcohol ink coasters are functional, durable, and beautiful.
Enjoy ceramic coasters with your personalized designs at competitive prices
Lighten your load by letting us bring your designs to life. You will enjoy fast turnaround times, high-quality printing, and competitive prices to get your custom coasters.
Learn moreHow Do You Keep Alcohol Ink From Fading Over Time?
You can preserve the vivid colors of your alcohol ink coaster by protecting it against UV exposure and environmental wear. UV-resistant sealants are ideal for this, so your top layer could be acrylic spray of epoxy resin. This will minimize fading caused by sunlight.
Storage is important, so consider the following:
- Store in a dark, dry place.
- Avoid prolonged exposure to direct sunlight, particularly when displaying them.
Alcohol ink coasters DIY make unique gifts for beer lovers and others, but you should consider including care instructions. Simple precautions are all you need to ensure your vibrant creations stay fresh for years.

How Do Finished Alcohol Ink Coasters Look When Ready For Sale?
A completed alcohol ink coaster should look vibrant, glossy, and well-made. Sellers often post them with descriptive titles like “Galaxy Swirl Coaster Set” or “Ocean-Inspired Alcohol Ink Coasters” to make them more appealing to buyers.
We recommend that you include terms that add credibility and appeal. These could be:
- Sealed
- Resin-coated
- Handmade
For alcohol ink coasters DIY entrepreneurs, polished photos that show color variations, gloss, and backing detail are important for effective listings.
Product descriptions should emphasize functionality like heat and water resistance alongside artistic uniqueness. Make your custom coffee coasters stand out by naming different designs or offering sets with coordinating color palettes.
Looking for custom coaster printing services with top-notch results?
We offer custom coaster printings in monochrome or full color on a wide range of materials so you can bring your design to life with perfect clarity and durability without breaking the bank.
Frequently Asked Questions About Alcohol Ink Coasters
How To Easily Make Alcohol Ink Coasters?
Start with a clean, ceramic tile, apply isopropyl alcohol, and drop ink before using a straw or heat tool to move the colors. Let it dry then seal with spray or resin before adding a backing.
What Do You Seal Alcohol Ink With?
Popular choices include UV-resistant acrylic spray, epoxy resin like ArtResin, or Mod Podge. Resin is the most durable option