How To Sublimate A Coaster For Professional-Looking Custom Designs
Your first sublimated coaster either looks crisp and bright, or it comes out faded with a ghosted edge. The difference is rarely luck - it is the blank, the heat, and the prep. In this guide, we walk through how to sublimate a coaster start to finish, with material-by-material settings and the fixes that save wasted blanks.

Key Takeaways
- Sublimation works only on coated blanks, so match the material first - MDF, ceramic, neoprene, and hardboard each take different heat and time.
- Print mirrored, tape tight, and press clean are the three habits that prevent most ghosting, shifting, and white spots beginners run into.
- Settings are a starting point, not a rule - press brand and blank thickness both shift results, so test one blank before a full run.
- We supply high-quality custom coasters in various styles and materials, printed in full color with names, logos, and QR codes, with generous bulk discounts.
Table of contents
-
How To Sublimate A Coaster?
-
What Supplies And Sublimation Coaster Blanks Do You Need?
-
How To Print On Coaster Blanks Without Mistakes
-
How Do You Prepare Sublimation Coasters For Pressing?
-
How To Heat Press A Sublimation Coaster?
-
What Temperature Should You Use To Sublimate Different Coaster Materials?
-
Do You Need To Seal And Finish Sublimation Coasters After Pressing?
-
How Do You Troubleshoot And Improve Sublimation Coaster Results?
-
Why Do Sublimation Coasters Have Ghosting Or White Areas?
How To Sublimate A Coaster?
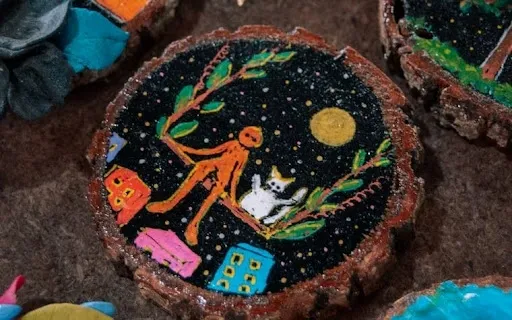
Sublimating a coaster means using heat and pressure to turn a printed design into a gas that bonds permanently into a coated blank. You print your image, tape it to the blank, press it, then peel - and the color is locked into the surface, not sitting on top of it.
Here is the full workflow from design to finished coaster:
- Create and size your design, then mirror it.
- Print the mirrored design on sublimation paper using sublimation ink.
- Trim the transfer slightly larger than the coaster face.
- Wipe the blank with a lint-free cloth to remove dust and oils.
- Place the transfer face down and secure it with heat-resistant tape.
- Preheat the press and place butcher paper under and over the coaster.
- Press at your blank's temperature, time, and pressure (see the settings table below).
- Peel the transfer with gloves, following that material's cooling rule.
- Optional: seal the coaster for a specific gloss or matte finish and extra wear protection.
That short, repeatable loop is what makes it a great beginner craft.
The most common blanks are MDF, ceramic, and neoprene, with hardboard close behind. The next section covers the full supply list, but we've found the blank itself decides more of your result than any other single choice.
What Supplies And Sublimation Coaster Blanks Do You Need?
You need a sublimation printer, sublimation ink, sublimation paper, a heat press, butcher paper, heat-resistant tape, and coated blanks. A regular inkjet printer will not work, since only sublimation ink turns to gas under heat.
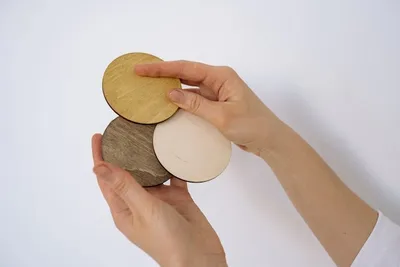
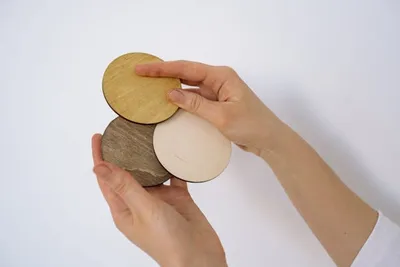
The blank matters most. MDF and hardboard blanks carry a white polyester coating that the dye bonds into, ceramic blanks have a glossy coated top, and neoprene is a soft synthetic that prints directly.
Sublimation needs a polyester or polymer surface, so uncoated wood or bare stone will not hold the image, no matter how hot you press.
Here is how the common blanks compare:
| Blank | Feel and look | Best for | Watch for | Beginner notes |
|---|---|---|---|---|
| MDF / hardboard | Hard, glossy, photo-sharp | You want crisp photo gifts, shop samples, or affordable bulk sets | Edges can scorch if over-pressed | Most forgiving first blank; test one before batching |
| Ceramic | Heavy, premium, tile-like | You want premium keepsakes, wedding favors, or home décor | Needs long press, slow to heat | Slower to heat and cool; handle with gloves |
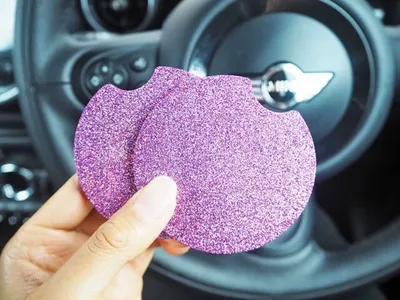
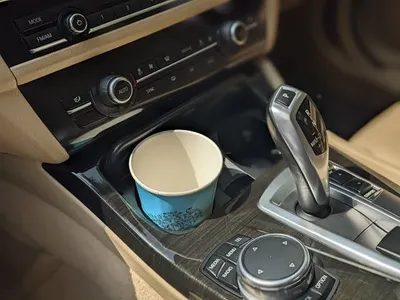
| Neoprene | Soft, flexible, rubber-backed | You want flexible coasters for cars, bars, kids, or events | Slightly muted color vs hardboard. Too much heat can flatten or dull it | Easy for bulk runs; use light pressure |
Start with MDF or hardboard for the easiest learning curve. Choose ceramic for a premium feel, and neoprene for flexible, everyday use. Match the blank to the use before you buy. To skip the equipment entirely, work with us to make custom photo coasters from your image, pressed and finished for you.
How Do You Find The Best Coaster Blanks For Sublimation Projects?
Look for blanks labeled sublimation-ready or sublimation blanks, which confirms a polyester coating. If a listing only says "wood coaster" or "ceramic tile" with no coating mentioned, treat it as not compatible.
Two things separate good blanks from frustrating ones:
- Even coating gives consistent color with no patchy or dull spots.
- Flat, square edges press cleanly and resist chipping over time.
Craft suppliers and major online marketplaces both carry them, but read the product details, not just the title. We've seen makers buy uncoated blanks by mistake and waste a full sheet of transfers before realizing the issue. For consistent results without sourcing risk, our custom print on demand coasters come print-ready in materials we have already tested.
Want sublimation-ready coasters without owning a heat press?
Work with us to print your design onto custom print on demand coasters, so you skip the press and get a clean, vibrant transfer every time.
How To Print On Coaster Blanks Without Mistakes
Print preparation is where most coasters are won or lost, so measure and mirror before you press. A clean transfer that fits the blank exactly removes the two biggest sources of waste: poor alignment and reversed text.
Start by measuring the coaster, including any rounded corners. Size your design to sit about 0.25 inches larger than the blank on each side, which gives a small bleed and makes alignment forgiving.
Then mirror the image before printing. Sublimation transfers face-down, so anything with text or a logo prints backward and reads correctly only after the flip. We've learned to mirror as a fixed habit, since one un-mirrored transfer ruins both the paper and the blank.
How Should You Prepare Your Design And Sublimation Print?
Use a high-resolution file in PNG or PDF, which keep edges sharp and backgrounds clean. A flattened PNG at full size avoids the soft, jagged look that low-quality files produce.
Aim for 300 DPI at the final print size, the long-standing print standard for crisp output. A small image stretched to fit will pixelate, so start large and scale down, never the reverse.
Color also shifts. Sublimation ink looks dull on paper and brightens after pressing, so your screen and the finished coaster rarely match exactly. We've found a quick test print on one blank is a low-cost way to check color before committing a batch.
How Do You Prepare Sublimation Coasters For Pressing?
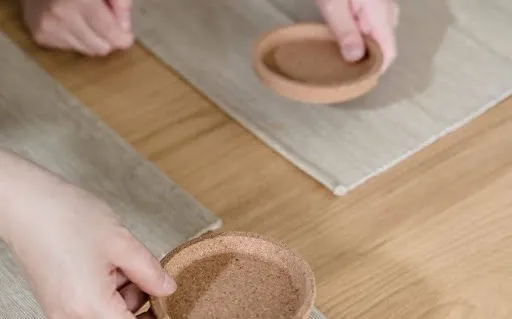
Surface prep decides whether the transfer lands clean, so wipe every blank before it touches the press. Stray dust and skin oils sit between the dye and the coating and show up as specks or pale patches in the finished image.
Wipe each blank with a lint roller or microfiber cloth, and handle it by the edges afterward. Oils and fingerprints reduce how well a surface bonds, so a clean blank transfers more evenly than a handled one.
Lay out everything before the press is hot: blanks, transfers, tape, butcher paper, and heat-resistant gloves. We've seen rushed setups cause shifted prints simply because a tool was out of reach mid-press.
How Should You Tape The Sublimation Transfer Securely?
Tape the transfer firmly so it cannot move, because any shift during pressing creates ghosting - a faint double image. Heat-resistant tape holds the paper flush while the dye gasses and bonds.
Different shapes need slightly different taping:
- Square coasters: tape all four edges, keeping the design centered.
- Round coasters: tape at least three points around the edge so the paper stays flat.
Keep tape off the printed area itself, since it can block transfer and leave a mark. Use enough to lock the paper, not so much that it covers the image. We've found a loose corner is the single most common reason a first coaster ghosts.
Turn a photo into a finished coaster
With our custom photo coasters, you upload an image and we handle the printing and pressing, so your design lands sharp without test pieces or wasted blanks.
Learn moreHow To Heat Press A Sublimation Coaster?
The full press runs setup, heat, time, then peel, the same press stage covered in the consolidated guide above. Once the design is taped to a clean blank, the press does the work - your job is the right settings and a steady hand.
In short, you preheat to the temperature for your material, slide butcher paper under and over the coaster, press with the pressure and time for that blank, then peel with gloves following the material's cooling rule.
Butcher paper matters more than it looks - it absorbs gas-off and stops ink ghosting onto the platen or the next coaster. Cooling rules vary by material, so peel timing is not one-size-fits-all, which the next sections cover.
How Long Should You Press Sublimation Coasters For Best Results?
Press times run from about 40 seconds for thin neoprene up to 200 seconds or more for ceramic. Thicker, denser blanks take longer because heat has to reach the coating through the whole body of the coaster.
More time is not always better. A 2021 study of sublimation printing found that both temperature and time change the final color, and that a shorter cycle can be preferred once the transfer is complete, since extra dwell adds cost without improving the result, the researchers noted. Over-pressing can fade or yellow a design.
Press brand and model also matter. A small Cricut-style press and a commercial swing press hold heat differently, so the same number can give different results. We test one blank on a new press before trusting any chart.
Need soft, durable coasters for cars and bars?
Choose our custom neoprene coasters for a flexible, drink-friendly surface that prints in full color and holds up to daily use and bulk orders.
What Temperature Should You Use To Sublimate Different Coaster Materials?
Most coaster blanks sublimate between roughly 385°F and 400°F, but the exact number and time depend on the material. Temperature drives how fully the dye gasses and bonds, so the wrong setting shows up as dull or uneven color.
Sublimation is a phase change where the solid dye turns straight to gas without becoming liquid, a transition that needs enough heat to happen. Too little and the dye never fully transfers; too much and it spreads or scorches.
Our own car coaster sublimation settings guide lists tested numbers by material. Here is a working starting chart:
| Material | Temperature | Time | Pressure |
|---|---|---|---|
| MDF / hardboard | 390-400°F | 40-50 sec | Medium |
| Ceramic | 400°F | 200+ sec | Light |
| Neoprene / PVC | 385°F | 40 sec | Light |
| Fabric-top | 356-428°F | 20-60 sec | Light |
Treat these as a baseline, then test for your press. New blanks especially deserve a single test piece first.
How Do You Sublimate Ceramic, MDF, And Neoprene Coasters?
Each material presses a little differently, so adjust by feel and result. Heat opens the coated surface and the dye settles inside it, absorbed into the surface rather than sitting on top, which is why a good press looks permanent and sharp.
Handle them like this:
- MDF and hardboard: press around 390-400°F with medium pressure, and let cork-backed pieces cool a moment before peeling.
- Ceramic: press face-down with light, even pressure for a longer cycle, then cool before handling since the body stays hot.
- Neoprene: press at lower heat with light pressure, and peel while warm for clean color.
Neoprene prints slightly softer than glossy hardboard, an honest trade-off for its flexibility. For a soft, drink-friendly result in bulk, our custom neoprene coasters print in full color and ship in event quantities.
Do You Need To Seal And Finish Sublimation Coasters After Pressing?
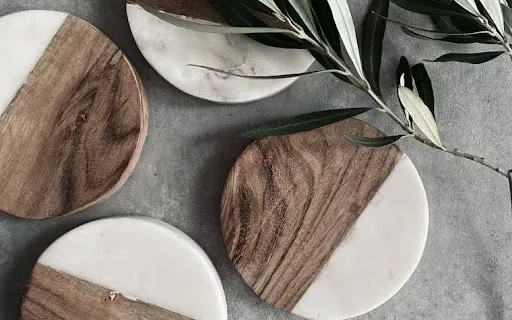
Most sublimated coasters do not need a sealer, because the dye is already bonded inside the coated surface. A correctly pressed MDF, ceramic, or neoprene coaster comes off the press finished and ready to use.
Sealing helps in two cases: when you want a specific gloss or matte look, or when a blank's coating is thin and you want extra wear protection. It is a choice, not a required step.
Common finishes compare like this:
- Spray sealant: quick, even coverage with light protection.
- Gloss or matte coat: changes the surface look more noticeably.
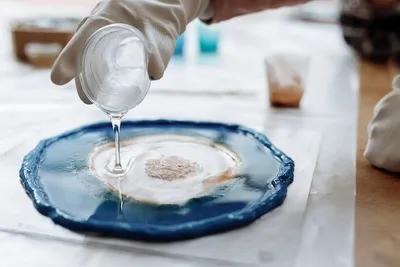
- Resin: thick, glassy, and durable, but adds real effort and cure time.
Match the finish to how the coaster will be used. For care details by material, our best finish for coasters guide walks through the options.
What Is The Best Way To Protect Sublimated Coasters For Long-Term Use?
Strong protection starts with a clean press, then a finish only if the use calls for it. A well-bonded transfer resists daily wear on its own, so finishing is about the surface, not the image.
For coasters that meet hot mugs and frequent spills, a spray sealant or resin adds a wipeable layer and guards thinner coatings. Cool every coaster fully before stacking or sealing, since trapped heat can mar the surface.
Care is material-specific - hand wash gently rather than putting any coaster through a machine cycle, and check the blank's own guidance. For ceramic specifically, our sealing ceramic coasters guide covers the right products and steps.
Print any design onto your chosen coaster material
Use our custom coaster printing service to put logos, photos, names, or QR codes on the material you want, with generous bulk discounts for events and brands.
Get startedHow Do You Troubleshoot And Improve Sublimation Coaster Results?
Nearly every coaster problem traces back to one of four causes: movement, contamination, wrong settings, or a bad blank. Reading the defect tells you which one, so you fix the cause instead of guessing.
Here is a quick problem-cause-fix reference:
| Problem | Likely cause | Fix |
|---|---|---|
| Ghosting (double image) | Transfer shifted mid-press | Tape tighter, peel without dragging |
| White spots or patches | Dust, oil, or moisture on blank | Wipe with lint roller, dry fully |
| Faded or dull color | Heat or time too low | Raise to material setting, retest |
| Yellow or scorched edges | Over-pressed or too hot | Lower time, reduce temperature |
Keep notes on what worked for each blank and press. We've found a simple settings log turns a frustrating craft into a repeatable one, especially across material types.
Why Do Sublimation Coasters Have Ghosting Or White Areas?
Ghosting and white areas come from two specific, preventable mistakes: the transfer moving during pressing, and contamination on the blank. Both leave a clear signature, so the defect itself points to the fix.
Ghosting is a faint second image, caused when the paper shifts as you lift the press or peel. White spots are bare, unprinted areas where dust or moisture blocked the dye. Uneven pressure produces patchy color for the same reason - the surface did not make full contact.
You solve almost all of this before pressing. Tape tightly, wipe every blank, dry off any moisture, and press on a flat, even surface.
A 2024 Clemson University study found a setting of 380°F with a 55-second dwell gave the most accurate, consistent color, in its testing, a reminder that steady, repeatable settings beat guesswork. When a result still looks off, change one variable at a time so you learn exactly what fixed it before your next batch.
Frequently Asked Questions About How To Sublimate A Coaster
What Is The Best Way To Sublimate Coasters?
Match the blank to the right heat and time, print mirrored, wipe the surface, tape tight, and press with butcher paper above and below. Test one blank before a full run, since press brand and thickness shift results.
Which Sublimation Supplies Are Essential For Making Custom Coasters?
You need a sublimation printer, sublimation ink and paper, a heat press, butcher paper, heat-resistant tape, and coated sublimation blanks. The coated blank matters most, since the dye only bonds to a polyester or polymer surface.