Ceramic Coasters DIY: How To Make Beautiful Custom Tile Coasters At Home
Ceramic tiles from the hardware store cost about a dollar, and a stack of them can become gifts, bar decor, or a full coaster set in a weekend. The catch is making them survive real drinks. In this guide, we cover ceramic coasters DIY from supplies and Mod Podge technique to waterproof sealing, vinyl, and glazing, so your tiles outlast the craft.
Key Takeaways
- Glazed ceramic tiles are the easiest coaster base for beginners: the smooth surface takes paper, vinyl, paint, and fabric with nothing more than a wipe-down first.
- Mod Podge glues and top-coats your design, but it is not waterproof: a water-based polyurethane, acrylic spray, or epoxy layer does the actual protecting.
- Rushed drying causes most failures: dry to the touch in about 20 minutes is not the same as cured, which can take up to 4 weeks for decoupage finishes.
- We supply high-quality custom ceramic coasters in various styles and material with a free proof before you pay and generous bulk discounts if you would rather skip the DIY.
Table of contents
-
Ceramic Coasters DIY
-
How To Make Ceramic Coasters Out Of Tiles?
-
What Supplies Are Needed For DIY Ceramic Coasters?
-
How Do You Use Mod Podge On Ceramic Coasters?
-
How Do You Seal And Waterproof DIY Ceramic Coasters?
-
How Can You Decorate DIY Ceramic Coasters?
-
What Advanced Techniques Can Improve DIY Ceramic Coasters?
-
How Do You Care For DIY Ceramic Coasters?
Ceramic Coasters DIY
Ceramic coasters DIY comes down to four moves:
- decorate a glazed tile
- seal the art
- protect the underside
- let everything cure.
If you can hold a foam brush, you can finish a set - no kiln, no press, and no prior craft experience required.
Tiles are forgiving because the glaze is smooth and nearly non-porous, so glue spreads evenly and mistakes wipe off before they dry. Research into ceramic inkjet printing and ceramic surface interactions has shown that smooth glazed ceramic surfaces promote more uniform coating and decoration adhesion than rough, porous ceramic surfaces, helping explain why glazed tiles are the preferred DIY coaster base.
A 4.25-inch square also happens to be the right footprint for a mug, which is why crafters treat it as the default coaster blank.
This guide walks through supplies, Mod Podge technique, waterproof sealing, vinyl and Sharpie decoration, glazing, and finishing in the order you would actually do them. For a wider idea bank, browse our ceramic coaster ideas guide before you commit to a design.
How To Make Ceramic Coasters Out Of Tiles?
Glazed ceramic tiles are the standard DIY coaster base because they arrive flat, rigid, and already finished on the drinking side. Hardware stores often sell 4-inch and 4.25-inch squares for around a dollar or two each, which keeps a six-coaster set under the cost of one boutique coaster.
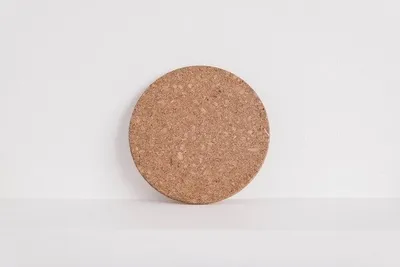
Compared with other bases, tiles win on effort. Wood needs sanding and edge work, cork is soft enough to gouge, and unsealed natural stone can absorb moisture into the surface. A glazed tile just needs a wipe-down.
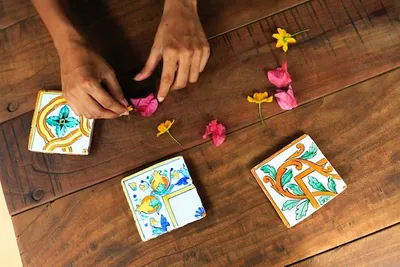
Decoration methods fall into three families: glued layers (paper, napkins, fabric, maps), surface art (paint, markers, stencils), and applied graphics (adhesive vinyl). If you want the tile look without the labor, our custom tile coasters print your design straight onto the blank.
What Is The Step-By-Step Process For Making Ceramic Coasters?
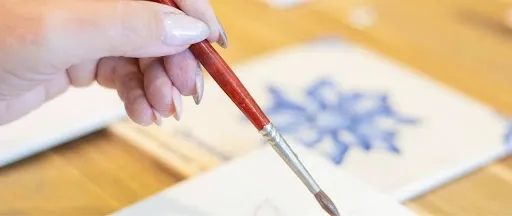
Here is the process we recommend for a first set, start to finish:
- Clean the glaze. Wipe each tile with rubbing alcohol and let it dry - skin oils and shop dust are the top cause of corners lifting later.
- Cut the design to size. For a 4.25-inch tile, trim paper to about 4 inches so a thin glazed border shows. Use laser prints or copies, because inkjet ink is water-based and can smear under glue.
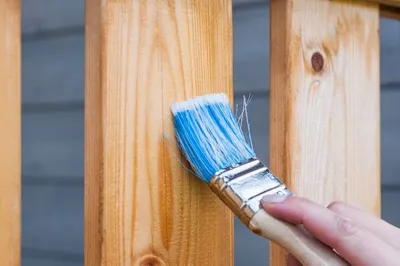
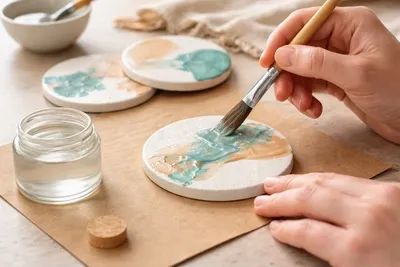
- Coat the tile, not the paper. Brush a thin, even layer of Mod Podge across the glaze. Thick coats grab too fast and trap bubbles.
- Place and smooth. Center the design, then press from the middle outward with a brayer or an old gift card until no air remains.
- Dry, then top-coat. Wait 15 to 20 minutes, then brush 2 to 3 protective coats over the art, alternating brush direction each time.
- Waterproof it. Once fully dry, add a water-based polyurethane, acrylic spray, or epoxy layer, wrapping slightly over the edges.
- Back and cure. Glue cork or felt to the underside, then give the set several days to cure before the first cold glass lands on it.
Want ceramic coasters without the craft-night cleanup?
Work with us to print your art, photos, or monograms on custom ceramic coasters, with a free proof to approve before you pay.
What Supplies Are Needed For DIY Ceramic Coasters?
A starter kit costs less than a takeout dinner and covers a full set. Here's what each item does:
- Glazed ceramic tiles - the coaster body; buy 2 or 3 extras for practice.
- Mod Podge and a foam brush - the adhesive and topcoat in one jar.
- Scissors or a craft knife - clean cuts make the tile look printed, not pasted.
- A clear sealer - polyurethane, acrylic spray, or epoxy for waterproofing.
- Cork sheet or felt pads - protects tabletops and stops sliding.
Beginners can stop there. Optional upgrades include a brayer for bubble-free smoothing, nitrile gloves for resin work, and a cutting machine for vinyl. Work with us if you'd rather skip the shopping trip - we make custom ceramic coasters with your names, dates, or artwork at competitive prices.
Which Materials Work Best For DIY Ceramic Tile Coasters?
Paper is the beginner pick, vinyl gives the cleanest lines, and fabric adds texture - each behaves differently under glue and sealer.
| Material | Why Choose It | Watch Out For |
|---|---|---|
| Scrapbook paper | Sturdy, sold in hundreds of patterns | Thick stock resists wrapping over edges |
| Paper napkins | Delicate vintage look, easy decoupage | Tears when wet; separate the printed ply first |
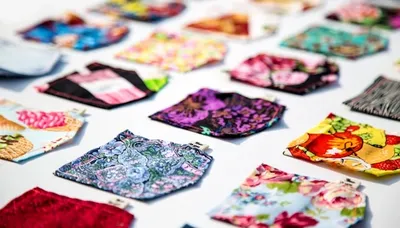
| Fabric | Texture and pattern depth | Needs extra topcoats to lock the weave |
| Adhesive vinyl | Sharp lettering and logos | Edges can lift without a sealing coat |
| Paint and markers | Fully original art | Some inks smear under brush-on sealers |
Match the material to the job: napkins and maps for gifts with a story behind them, vinyl for monograms and bar branding, and paint when you want no two coasters alike.
Love the tile look for your home or bar?
Our custom tile coasters carry any design you upload, so you get the handmade style without brushing a single coat of sealer.
Learn moreHow Do You Use Mod Podge On Ceramic Coasters?
Mod Podge works on ceramic as both the glue that bonds your design and the clear coat that protects it, which is why nearly every tile-coaster tutorial reaches for it. It belongs to the polyvinyl acetate family of white glues, which a university preservation program describes as drying clear but staying moisture-sensitive - the exact reason it can't be your only layer of protection.
The standard gloss and matte formulas suit most coaster projects. Plaid also sells a harder-curing kitchen formula for pieces that get washed, and that version needs a full 28-day cure before its first wash.
Dry to the touch arrives in about 20 minutes, and it fools almost everyone. Plan on 2 to 3 coats, a full cure of up to 4 weeks, and a real sealer on top before the coasters see heavy use.
How Do You Apply Mod Podge To Ceramic Tile For The Best Results?
Start with a clean tile: wipe the glaze with rubbing alcohol, let it dry, and only then open the jar. Adhesive bonds to whatever sits on the surface, and on an uncleaned tile that is dust, not glaze.
To adhere paper, brush a thin, even coat onto the tile, lay the print down, and smooth from the center out before the glue grabs. We've found a folded microfiber cloth pushes bubbles out more gently than fingertips, which can dent damp paper.
Add top coats in thin layers, waiting 15 to 20 minutes between each, and alternate brush direction so ridges cancel out. Wrap the final coat slightly over the tile edges - bare edges are where water gets in first - then move on to a true waterproofing layer once everything is completely dry.
How Do You Seal And Waterproof DIY Ceramic Coasters?
Sealing is what separates a coaster from a decorated tile. A sweating glass sheds water the whole time the drink sits, and decoupage layers soak up that water unless a waterproof film stands in the way. Skip this step and the art clouds, wrinkles, or peels within weeks.
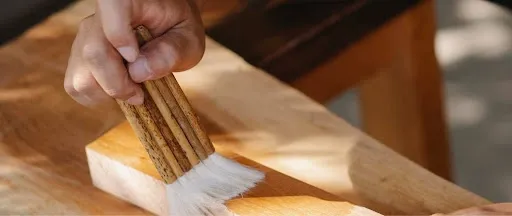
Your three realistic options are brush-on water-based polyurethane, clear acrylic spray, and pour-on epoxy resin, ranked there from easiest to toughest. Our guide to sealing ceramic coasters walks through each in more depth.
The underside matters too. A square of cork or four felt pads keeps the rough tile back from scratching furniture and adds grip that stops coasters sliding.
Which Sealers Provide The Best Protection For Ceramic Coasters?
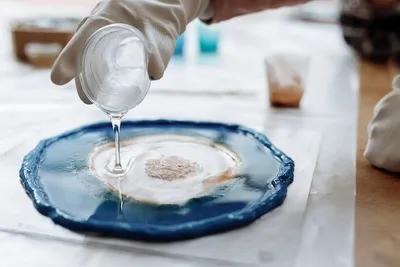
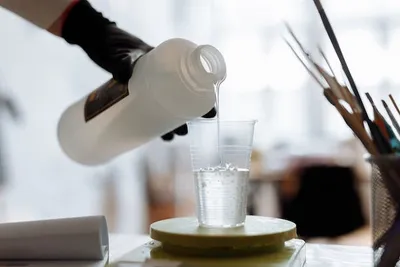
For daily-use coasters, epoxy resin is our pick because it cures into a thick, glassy, genuinely waterproof shell. For gift sets and lighter duty, 2 to 3 coats of water-based polyurethane are simpler and still dependable.
| Finish | Look | Moisture Protection | Cure Before Use |
|---|---|---|---|
| Gloss polyurethane | Wet-look shine | Good | 3 to 7 days for light use |
| Satin or matte polyurethane | Soft, low glare | Good | 3 to 7 days for light use |
| Acrylic spray | Thin, even mist | Light | 24 to 72 hours |
| Epoxy resin | Thick glass-like dome | Excellent | About 72 hours; check the brand chart |
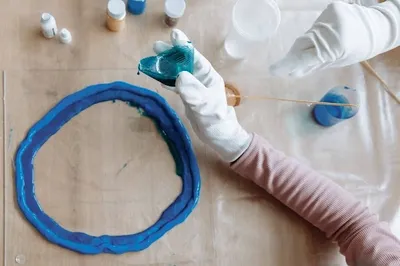
One honest caveat: epoxy is the fussiest option. It needs a level surface, patience with bubbles, and nitrile gloves - the National Institute for Occupational Safety and Health treats uncured resins as hazardous because skin contact can trigger irritation and allergic reactions, while fully cured resin is inactive. Our best finish for the coaster guide compares these products across other coaster materials too.
Turn favorite photos into keepsake coasters
Create custom photo coasters for weddings, housewarmings, and gifts, printed in full color on materials that fit your budget.
How Can You Decorate DIY Ceramic Coasters?
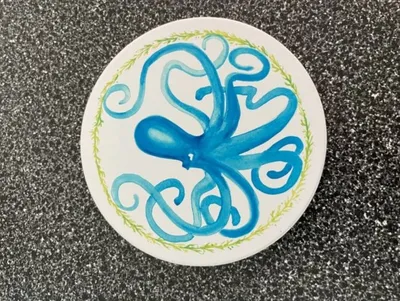
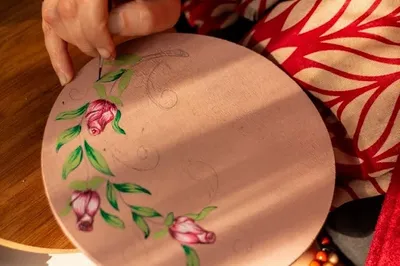
Match the method to your skill level and the coaster's job. Napkin decoupage and scrapbook paper are the friendliest starting points, maps and book pages make meaningful gifts (a honeymoon city, a hometown street grid), paint and Sharpie art suit confident hands, and vinyl lettering delivers crisp text without any drawing at all.
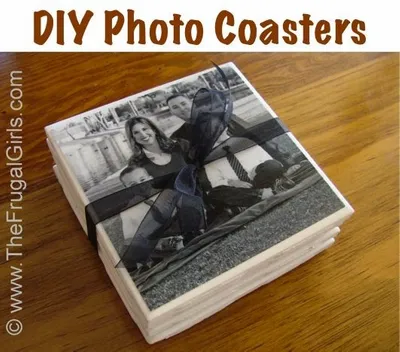
For gifts, personalization does the heavy lifting: wedding dates, pet portraits, coordinates, or a grandparent's recipe in their own handwriting. One tip from orders we run: sets of 4 or 6 with a shared color palette read as intentional decor rather than leftover crafts.
Work with us when the design outgrows the craft table - we print custom photo coasters in full color, with a free proof before you pay.
Which Decoration Techniques Create The Most Unique Ceramic Coasters?
Cricut vinyl gives the most repeatable results - cut the same monogram six times and every coaster matches, which hand-drawn art can't promise. Hand-drawn Sharpie or paint-pen work is the opposite: one-of-a-kind but harder to protect, since alcohol-based marker ink can smear under brush-on sealers. Mist a light acrylic spray coat first, let it set, then apply your main sealer over it.
Decoupage sits in the middle: repeatable if you print the design, unique if you use found paper. For themed sets, pick one anchor element - a color, a botanical, a skyline - and vary it across the set.
For designs that need to last years, sealed vinyl and epoxy-topped decoupage hold up longest in our experience, so save the markers for display sets that stay dry.
Need a full coaster set for an event or venue?
Order custom ceramic coasters in bulk and take advantage of generous wholesale discounts for parties, restaurants, and promotions.
Get startedWhat Advanced Techniques Can Improve DIY Ceramic Coasters?
Heat pressing and kiln glazing make sense when you want store-quality durability or many identical coasters, because both bond the image to the surface instead of layering glue over it.
Sublimation uses a heat press to turn solid dye into gas that bonds with a polymer coating on a special blank. Kiln glazing fuses a glass layer to the clay itself, the way commercial ceramic coasters are finished. Traditional sealing remains the right call for one-off gifts and layered paper art.
If you want press-level results without buying equipment, our custom print-on-demand coasters start at a 50-piece minimum with fast turnaround times.
When Should You Use Heat Pressing Or Glazing?
Use a heat press when you want photo-quality prints, and a kiln when you want true glaze. Sublimation only works on coated blanks - the patent literature on ceramic receptor coatings describes transfers running at 375 to 500 degrees Fahrenheit, far beyond what any glued paper layer survives, and bare glaze without that coating simply won't hold the dye.
Kiln glazing is the potter's route: brush glaze onto bisque-fired clay, then fire again. A college ceramics chart puts common low-fire glaze firings at cone 06 to 04, roughly 1,830 to 1,940 degrees Fahrenheit - studio access required, not a home-oven project.
Our recommendation by project type: decoupage or vinyl for weekend crafts, sublimation for photo sets if you own a press, and kiln glazing only if you already throw or hand-build pottery.
How Do You Care For DIY Ceramic Coasters?
Hand washing is the whole care routine: wipe with a damp cloth and mild soap, dry immediately, and never soak. Skip the dishwasher entirely, because water sitting against a cut vinyl edge or an unsealed corner will work under the design eventually.
Prevent damage before it happens. Keep finished coasters away from hot pans and oven heat, since decoupage finishes soften when hot; re-stick lifting felt pads promptly; and store spare sets flat rather than fanned in a bowl. If a finish dulls after a year, a fresh topcoat revives it - our guide on how to make tile coasters waterproof covers recoating.
Work with us for bars, venues, and rentals that can't baby their coasters - custom ceramic coasters in bulk arrive finished, consistent, and priced with generous wholesale discounts.
What Common DIY Ceramic Coaster Mistakes Should You Avoid?
We've seen more coaster sets ruined by impatience than by technique - nearly every failure below traces back to skipped prep or rushed drying.
- Skipping the alcohol wipe - glue bonds to dust, and corners lift within weeks.
- Thick Mod Podge coats - they trap bubbles and dry cloudy; several thin passes beat one heavy one.
- Sealing over damp layers - trapped moisture turns milky white under the finish.
- Leaving edges bare - condensation wicks in from the side, not the top.
- Using coasters the same day - dry is not cured, and early mugs stick to the finish and pull it up.
Give a paper-and-polyurethane coaster a full week before service and an epoxy coaster about 72 hours, and bubbling, peeling, and water damage rarely show up at all.
Frequently Asked Questions About Ceramic Coasters DIY
How Can You Make DIY Ceramic Coasters?
Clean a glazed 4-inch tile, attach your paper or fabric with Mod Podge, add 2 to 3 top coats, seal with water-based polyurethane or epoxy, and finish with cork or felt backing.
How Do You Make Ceramic Tile Coasters?
Decorate hardware-store tiles with vinyl, markers, maps, or napkin decoupage, seal every face and edge against moisture, and let the finish cure fully - several days at minimum - before the first drink.