DIY Leather Coasters: How Can You Make And Customize Them At Home?
A leather scrap, a sharp knife, and one afternoon are enough for a coaster set that lasts for years. The hard part is choosing the leather, the thickness, and the sealer. In this guide, we walk through DIY leather coasters from the first cut to the finished, decorated set.
Key Takeaways
- Start with 8 to 10 oz vegetable-tanned leather (about 3.2 to 4.0 mm) so each coaster stays flat under a sweating glass.
- Bevel, burnish, and seal every coaster - an unfinished edge frays and an unsealed surface stains after one spilled drink.
- Test every decoration on an offcut first, whether you stamp, paint, burn, or glue on a Fimo clay accent.
- We supply high-quality custom coasters in leather and many other materials, printed with names, logos, and artwork, for anyone who wants a matched set without the handwork.
Table of contents
-
What Are DIY Leather Coasters?
-
What Materials Are Needed To Make Leather Coasters?
-
Is This A Suitable Beginner Leatherworking Project?
-
How Thick Should A Leather Coaster Be?
-
Is Leather A Good Material For Coasters?
-
How Can You Make Custom Leather Coasters?
-
How Do You Make Hand-Painted Leather Coasters?
-
How Can You Make Leather Coasters Using Fimo Clay?
What Are DIY Leather Coasters?
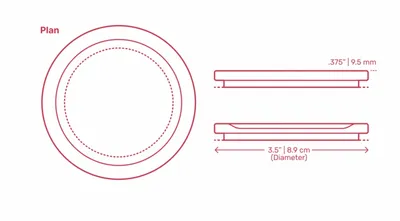
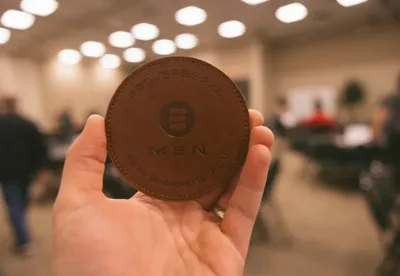
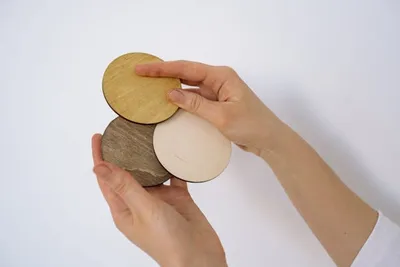
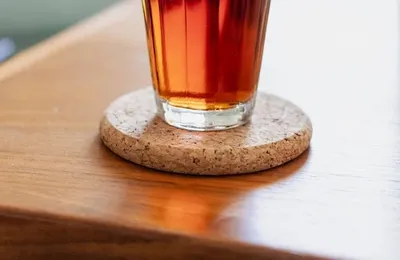
DIY leather coasters are small cut pieces of thick leather, usually 3.5 to 4 inches across, that you cut, finish, and decorate yourself. They protect tables from condensation rings and double as decor, housewarming gifts, and small branded items for a home bar.
Most makers choose rounds or squares, and a scrap bundle covers a full set. A 4 inch coaster fits pint glasses and mugs, while 3.5 inches suits wine and rocks glasses - our guide to the right coaster size covers the trade-offs.
Making your own means full control of color, shape, and thickness, and a set of six costs less than one premium store set.
How Should You Measure, Cut, And Finish Leather Coasters?
Measure with a rigid template, cut in several light passes, then bevel, burnish, and seal. Our process:
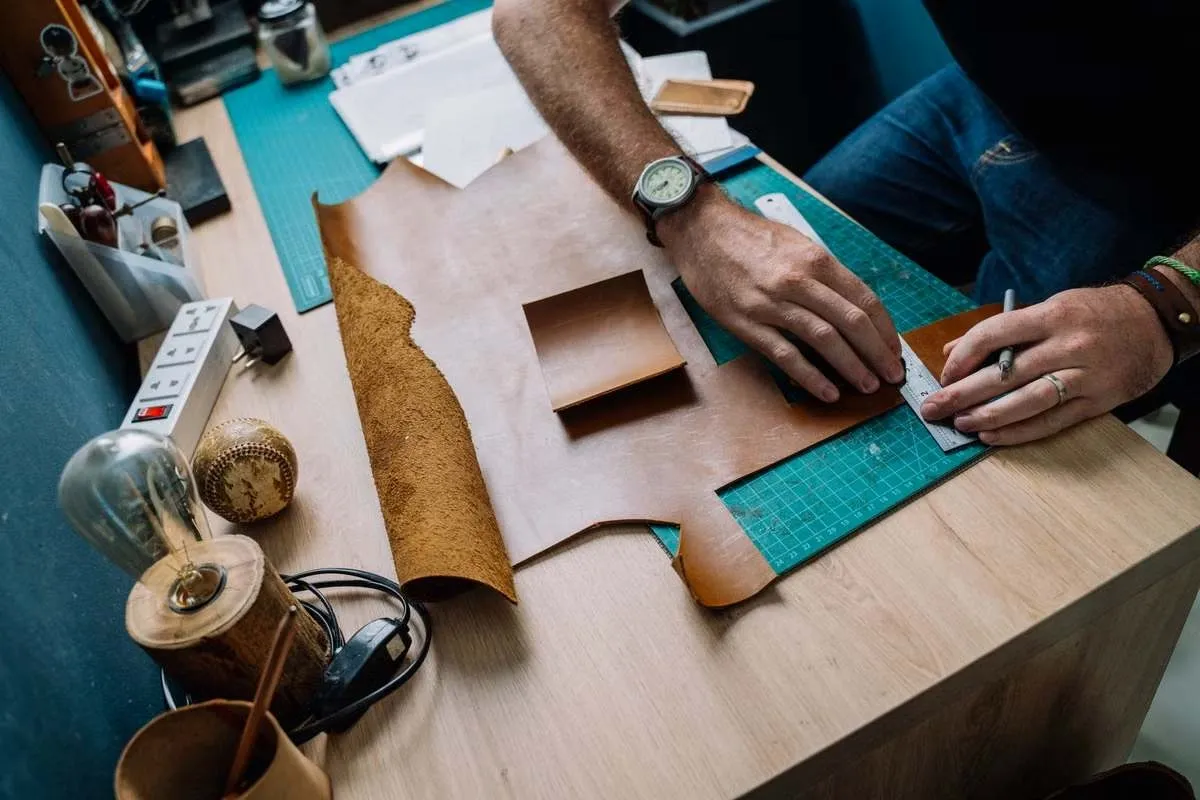
- Make a template. Cut a 4 inch circle or square from cardstock. Trace it on the grain side with a scratch awl, never a pen - ink marks are a classic beginner fault.
- Cut in passes. Use a fresh utility blade on a cutting mat. Two or three light passes beat one deep cut, which drifts on thick leather.
- True the edges. Sand the cut edge with 220 grit so the perimeter is square.
- Bevel. Run a size 2 edge beveler along the top and bottom edges.
- Burnish. Dampen the edge and rub it with a wood slicker or canvas until it turns glossy. Gum tragacanth or plain water both work on vegetable-tanned leather.
- Seal. Wipe on a thin coat of acrylic leather finish, let it dry, then add a second.
- Cure. Give the set 24 hours flat before the first drink lands on it.
What Materials Are Needed To Make Leather Coasters?
You need leather, a cutting tool, an edge tool, and a finish. Everything else can wait until the second set:
- Leather - 8 to 10 oz vegetable-tanned scrap
- Cutting - utility knife, steel ruler, self-healing mat
- Edges - beveler, 220 grit sandpaper, slicker
- Finish - acrylic leather sealer or a wax-based top coat
Leather quality drives durability more than any tool. Bonded leather delaminates when damp, while a firm vegetable-tanned scrap takes stamps, holds its shape, and darkens with use. Buy a scrap bag by weight - offcuts are cheap and often come from the same hides as premium goods.
Decorating supplies such as stamps, leather paint, or a wood-burning pen can wait until you know which technique you enjoy. For a head start, our custom leather coaster blanks skip the cutting and edging entirely.
What Type Of Leather And Tools Should You Use?
Choose leather by both its tannage and its surface or grain. “Vegetable-tanned” describes how the hide was tanned, while “full-grain” describes the condition of its outer surface. That means a piece of leather can be both full-grain and vegetable-tanned. For traditional DIY coasters that you plan to stamp and burnish, firm vegetable-tanned leather is the most practical starting point.
| Leather option | Stamping/tooling | Edge burnishing | Painting | Moisture considerations | Best coaster use |
|---|---|---|---|---|---|
| Full-grain vegetable-tanned | Excellent | Excellent | Good | Needs a protective finish against condensation | Best all-around choice for stamped, tooled, or natural-looking DIY coasters |
| Corrected-grain vegetable-tanned | Good, depending on finish | Good on exposed edges | Very good | Surface finish may improve resistance but can affect tooling | Good when you want painted designs rather than visible natural grain |
| Chrome-tanned leather | Usually less suitable for traditional tooling | Generally less responsive to traditional burnishing | Good | Typically more supple and moisture-resistant than vegetable-tanned leather | Better for painted or laminated coasters than deeply stamped designs |
| Heavily coated or finished leather | Limited if the coating is thick | Depends on the underlying leather | Surface must be compatible with the paint | Coating can provide useful protection from spills | Useful when moisture resistance matters more than traditional leathercraft techniques |
| Bonded/reconstituted leather | Poor choice for detailed tooling | Inconsistent | Possible | Binder and fibre construction may deteriorate with repeated moisture exposure | Generally avoid for a long-lasting DIY coaster set |
Tanning changes how leather behaves with water. The Canadian Conservation Institute notes that chrome-tanned leather shows a blue-green line on a cut edge, a quick way to spot it in a mixed scrap bag. It resists moisture well but will not burnish or hold a stamp like vegetable-tanned leather.
For tools, start with the knife, ruler, beveler, and slicker. Add a maul and stamps for tooling or a wood-burning pen for pyrography. Specialty items like a swivel knife only pay off once you make more than a few sets.
Want leather coasters without the cutting and burnishing?
Work with us to create custom leather coasters printed with your name, logo, or artwork, with a free proof before you pay.
Is This A Suitable Beginner Leatherworking Project?
Yes - a coaster is one cut with no stitching, hardware, or fitting, which keeps the skill list short and the cost of a mistake near zero.
A ruined coaster wastes a few square inches of scrap, where one bad cut on a wallet ruins an hour of work. We've seen beginners finish a six-coaster set in one sitting.
It still teaches the core moves: measuring, cutting, stamping, beveling, burnishing, and finishing. Practice each on a scrap strip first. A custom cork coaster base with a leather top is another low-risk start if your scrap is thin.
Which Skills Can A Beginner Learn From This Project?
A coaster set builds measuring, cutting, edge work, and finishing habits that carry into every later project. Six identical shapes teach more than one complicated one.
The first edge you burnish will be patchy, the sixth will be even. The Colorado 4-H leathercraft judging guide scores edges as burnished smooth with no fuzz, and tool impressions as distinct and consistent in depth - two checks you can apply to your own set.
Along the way you learn casing (dampening leather so it takes a stamp), stamping, painting in thin coats, and sealing. Keep your first set plain and decorate the second, so a rushed design never ruins a well-cut coaster.
Looking for monogrammed leather coasters as a gift?
Our custom monogrammed leather coasters carry initials, dates, or a family name for weddings, housewarmings, and anniversaries.
Learn moreHow Thick Should A Leather Coaster Be?
Use leather around 3.2 to 4.0 mm thick, sold as 8 to 10 oz, which has enough weight and stiffness to stay flat under a cold drink. On the leather weight scale 1 oz equals 1/64 inch, about 0.4 mm, so 8 oz is roughly 3.2 mm and 10 oz roughly 4.0 mm.
Hides in the 2 to 4 oz range curl at the edges as the top absorbs condensation while the back stays dry, and they let moisture through.
If you only have thinner leather, bond two layers flesh side to flesh side with contact cement. Two 5 oz pieces make a 10 oz coaster with grain on both faces. One caveat: thick leather is harder to cut cleanly, so expect three passes instead of one.
Can You Use Thinner Leather For Coasters?
Thin leather works only when laminated to a stiffer backing such as cork, felt, or a second piece of leather, which adds stiffness, grip, and a moisture barrier.
Match the adhesive to both materials. Contact cement bonds leather to cork and leather to leather. The Forest Products Laboratory's wood adhesives chapter notes that contact adhesives bond on pressing at room temperature and have low resistance to water and damp conditions, which is why the sealed top layer matters so much on a laminated coaster.
Press the bonded stack flat under a heavy book for 24 hours, or it warps into a shallow bowl as it dries. Our guide on what to put on the bottom of coasters compares cork, felt, and rubber backings.
Is Leather A Good Material For Coasters?
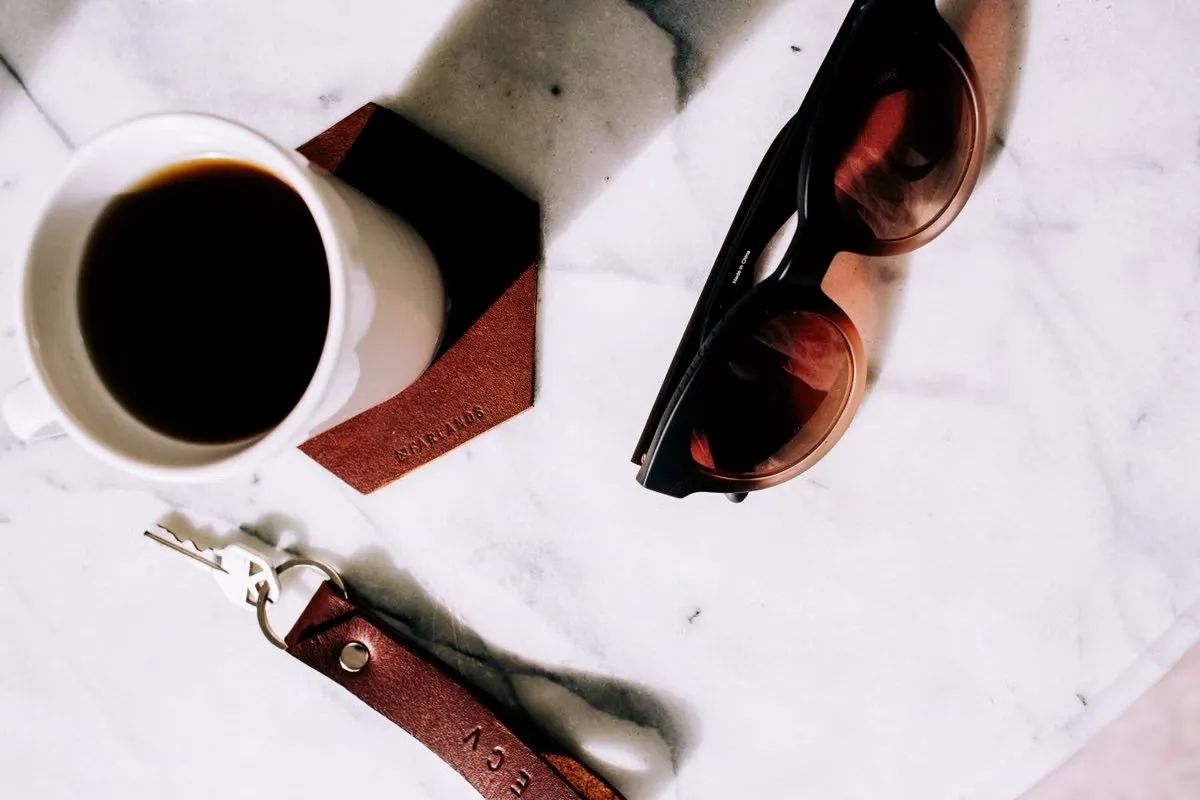
Leather is a durable, reusable coaster material that feels good under a glass and looks better with age. Finished properly, it protects a table from scratches, mild heat, and condensation.
Oils from hands and light moisture darken vegetable-tanned leather over months, so a set looks better at year two than on day one.
Leather has limits. Standing water stains and stiffens leather, dark drinks leave marks if the surface is unsealed, and the CCI's collection-care guidance notes that relative humidity above 65% favors mold growth on leather. Wipe a leather coaster dry after use and store it flat.
What Are The Advantages And Disadvantages Of Leather Coasters?
It wins on looks, feel, and lifespan and loses on moisture tolerance and upkeep:
- Advantages - years of use, no clatter, soft on glassware, takes personalization
- Disadvantages - water spots, needs a sealer and yearly reconditioning, no dishwasher
It suits a home bar, desk, or dining table where coasters get wiped and put away. For a busy bar where coasters get soaked and tossed, we've found an absorbent printed coaster wins - our custom restaurant coasters exist for exactly that job.
Need 50 or more coasters for a bar or event?
Use our service to order custom coasters in bulk across many materials, with generous bulk discounts and fast turnaround times.
How Can You Make Custom Leather Coasters?
Customize leather coasters by stamping, tooling, burning, engraving, dyeing, painting, or stitching a design into the finished blank. Initials, a wedding date, a logo, or a repeating pattern turn a plain set into a personal one.
By leather and skill level:
- Stamping and tooling - vegetable-tanned only; beginner friendly
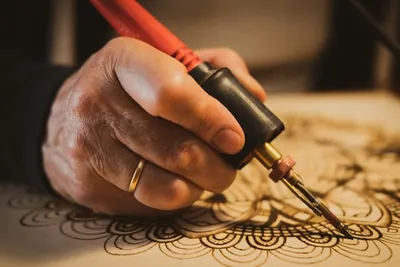
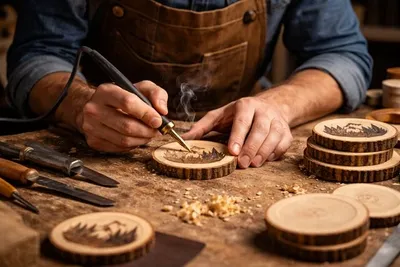
- Pyrography - vegetable-tanned only, in a ventilated room; needs a steady hand
- Laser engraving - vegetable-tanned; needs shop access
- Dyeing and painting - any leather; easy to overdo
- Decorative stitching - any leather; slow but striking
For stamped letters, case the leather first. A 1960 South Dakota State 4-H leather craft guide describes sponging the flesh side until the finished side darkens, then stamping while it is still damp.
Run the full process on an offcut - decoration, then sealer - before the real set. We've seen sealer lift paint and darken dye, and the offcut catches that.
Which Leather Coaster Ideas Can Inspire A Custom Set?
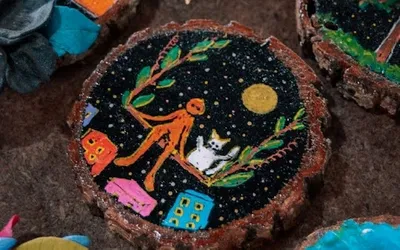
Pick one motif and one palette, then repeat it across the set, so six hand-made coasters read as a match rather than six experiments.
Ideas that work well on leather:
- Monograms or a family name stamped in the center
- Geometric patterns tooled with a single stamp
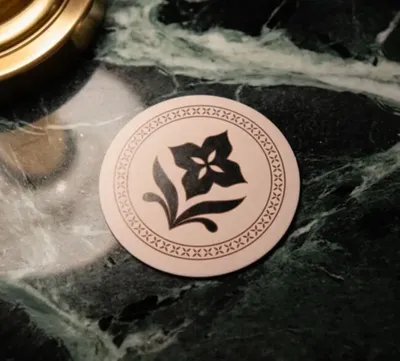
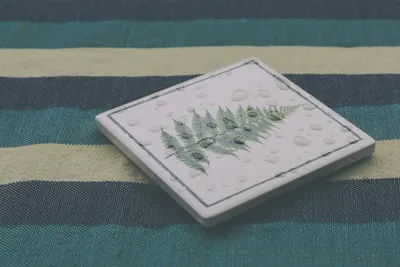
- Botanical line art burned or painted
- City maps, coordinates, or a sports crest engraved
Shape adds variety without changing the design: circles, squares, hexagons, scalloped edges, or rounded rectangles. For a wedding or housewarming, match the motif to the invitation; for a restaurant or corporate gift, match the logo color and keep the shape simple.
Work with us when you need a set of 50 or more. Our custom leather coasters carry names, dates, logos, and artwork, with a free proof before you pay and generous bulk discounts.
Put your logo on coasters customers actually keep
Create custom logo coasters for your restaurant, brewery, or office in the shape, material, and quantity that fits your budget.
Get startedHow Do You Make Hand-Painted Leather Coasters?
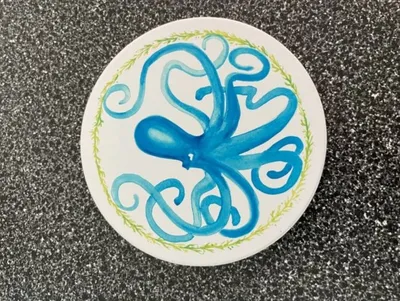
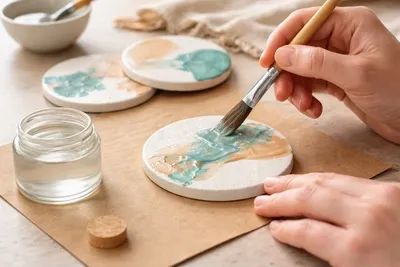
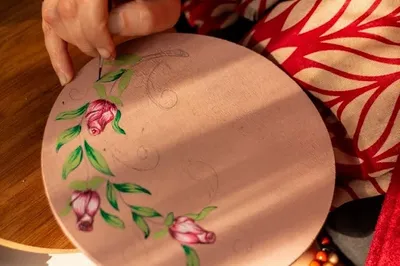
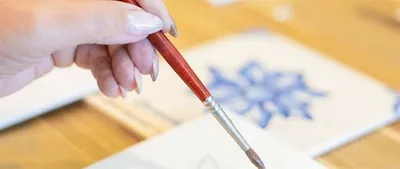
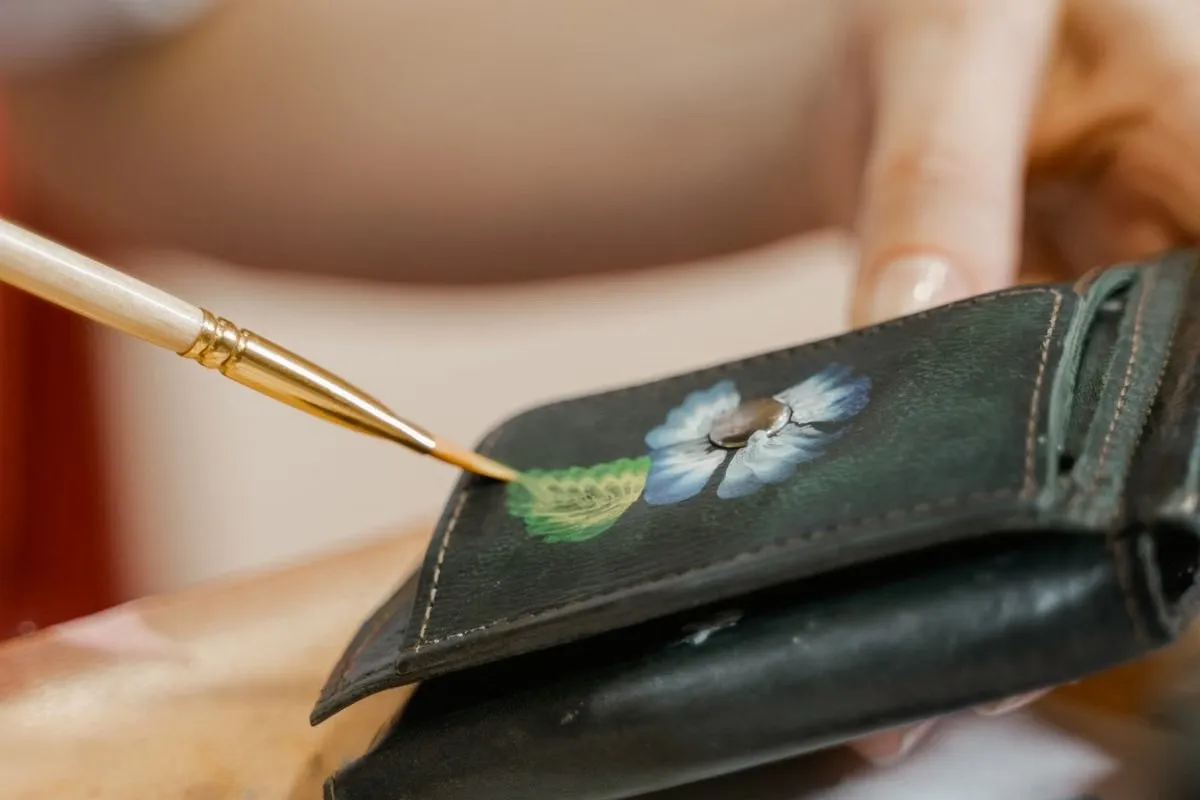
Hand-paint leather coasters by cleaning the surface, sketching lightly, building thin coats of flexible leather paint, and sealing. Paint that cannot flex with the leather cracks at the first bend.
Prep decides whether the paint sticks. Wipe the grain side with a deglazer or rubbing alcohol to remove factory wax, then let it dry. Paint on an unprepped surface peels in sheets within weeks.
Draw the design with a light pencil or a stencil, never ink. Flexible acrylic leather paint goes on in two or three thin coats; one thick coat cracks and hides the grain.
How Should You Prepare Paint And Seal Leather Coasters?
Prep, paint, build, seal, with drying time between each step.
- Prepare the surface. Deglaze, dry, and mask any edge you want to keep natural.
- Paint the outline. Use a fine liner brush for edges and a flat brush for fills.
- Build thin coats. Two or three light layers; wait until each is dry to the touch.
- Seal. Two thin coats of a flexible acrylic finisher over the whole face, then 24 hours flat.
One caveat: a glossy sealer shifts colors darker and can look plastic on leather, so test satin on an offcut first. For a comparison of finish types, see our guide to the best finish for wood coasters.
How Can You Make Leather Coasters Using Fimo Clay?
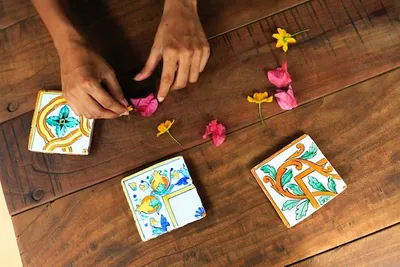
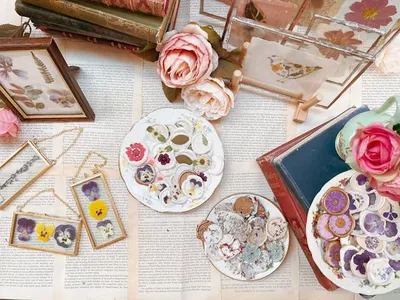
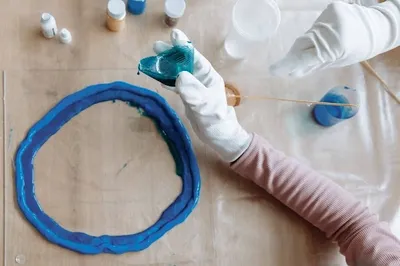
Fimo is an oven-hardening polymer clay from Staedtler, and on a leather coaster it works as a decorative insert or accent, not as the coaster itself. Think of a clay monogram disc set into the center or a thin border at the rim.
Shape and cure the clay separately per the pack instructions, then attach the cooled piece to the finished leather. Never bake the leather.
Plan the design so the drinking surface stays level. A raised center accent rocks the glass, so recess it into a shallow cut or keep clay at the rim. We've found inset pieces flush with the leather survive daily use, while raised ones chip.
The adhesive and the top finish both need to tolerate handling and condensation, so use a flexible glue and seal the seam. For a set that already matches your decor, custom photo coasters print the accent design instead of gluing it.
How Do You Create And Attach Fimo Clay Decorations?
Shape, cure, test-fit, glue, cure again. Allow two days, mostly for drying.
- Shape the clay to about 2 mm thick with a roller and cut it with a small cutter.
- Cure it per the pack instructions on parchment, then let it cool fully.
- Test-fit every piece and mark the spot with an awl.
- Glue with a flexible adhesive in a thin, even layer on both surfaces.
- Cure under light weight for 24 hours, then seal the seam.
Staedtler also sells a Fimo leather-effect clay that hardens into a flexible, leather-like sheet. The same rule applies: follow the pack's temperature and time, and test one piece before committing a set.
Frequently Asked Questions About DIY Leather Coasters
What Are Leather DIY Coasters?
They are hand-cut pieces of thick leather, usually 3.5 to 4 inches across, that you bevel, burnish, seal, and decorate yourself to protect tables from condensation and heat.
Which Materials Do You Need To Make Leather Coasters?
You need 8 to 10 oz vegetable-tanned leather, a sharp knife and ruler, an edge beveler and slicker, and a flexible acrylic sealer. Stamps and paint are optional.