DIY Painted Coasters: How Can You Create Stylish And Durable Designs?
DIY painted coasters last longer when the base, paint and protective finish work as a system. Ceramic, wood and MDF can all make good coaster blanks, but their surfaces behave differently, so the same preparation and paint will not give identical results on each one. In this guide, we look at DIY painted coasters through blank, paint and sealer as one decision, not three.

Key Takeaways
- Match paint to the coaster material rather than choosing by color alone. Glazed ceramic, unglazed bisque, wood and MDF each behave differently.
- Prepare the surface for the coating system you plan to use. Sanding grit, primer choice and cleaning depend on the paint you picked.
- Dry to the touch and fully cured are different stages. Thin acrylic films can feel dry in minutes while thicker films need much longer.
- We supply high-quality custom ceramic, tile, cork and wood coasters printed with your design, with a free proof and a 50-piece minimum for events and favors.
Table of contents
-
What Are DIY Painted Coasters?
-
Which Coaster Base Should You Choose?
-
How To Paint A Coaster Step By Step?
-
What Kind Of Paint For Coasters Works Best?
-
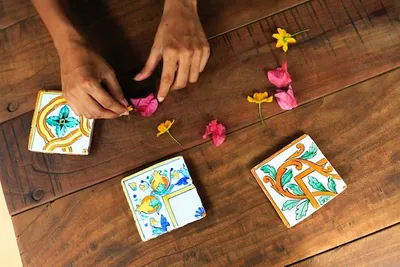
How Can You Paint And Decorate Ceramic Coasters?
-
What Do You Seal Homemade Coasters With?
-
Can Mod Podge Or Epoxy Be Used To Finish Painted Coasters?
-
How Can You Make Acrylic Paint Pour And Math Painted Coasters?
What Are DIY Painted Coasters?
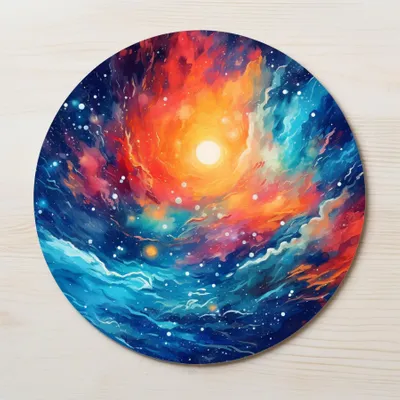
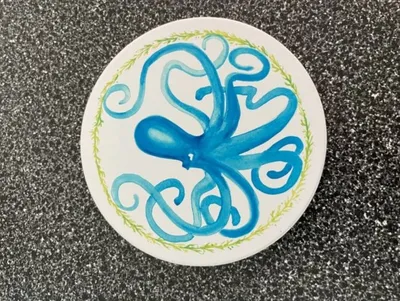
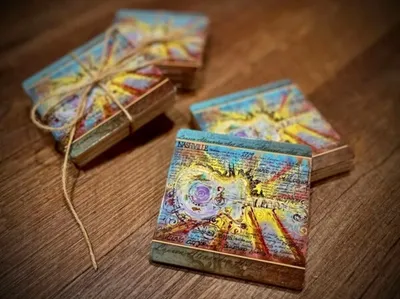
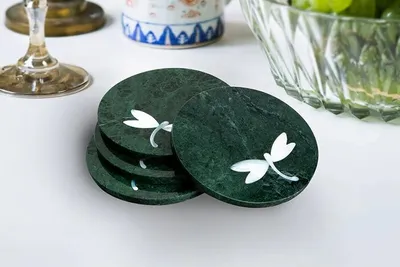
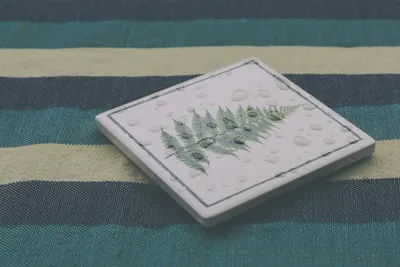
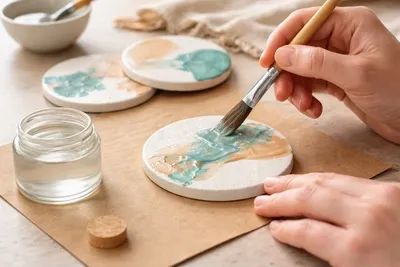
DIY painted coasters are ceramic, wood or MDF blanks decorated with paint, paint pens or poured acrylics and finished for the way they will be used. A project can range from a one-color monogram to a coordinated set of geometric, botanical or abstract designs.
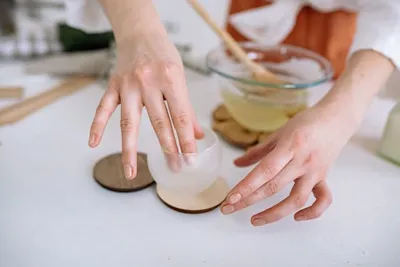
A basic supply kit includes coaster blanks, paint suited to the surface, brushes or paint pens, cleaning materials, painter's tape or stencils where needed, a compatible protective finish, and cork or felt pads for the underside. The practical sequence is simple: prepare the blank, paint the design, let the paint dry and cure, add a compatible finish, then let that finish cure before the coaster meets a cold glass.
What Ideas For Painted Coasters Can You Try?
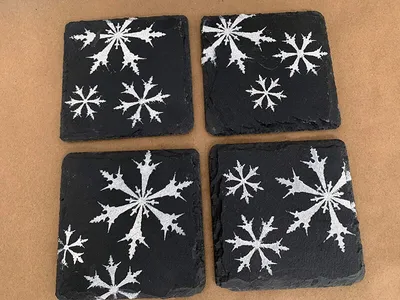
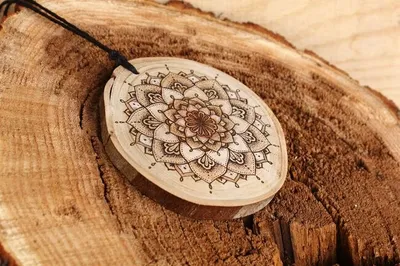
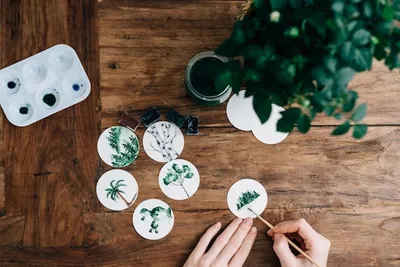
Geometric blocks, terrazzo-style marks, botanical motifs, mandalas, monograms, abstract brushwork and seasonal designs all work at coaster scale. Choose a design that suits both your tools and the number of coasters you plan to make.
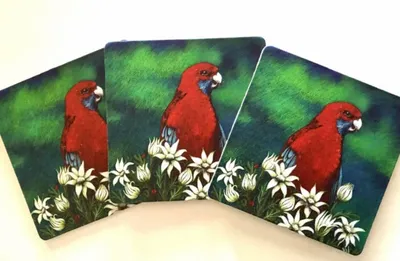
For a mixed set, repeat two or three colors across the designs. A common palette can make different patterns look intentional without requiring every coaster to match. On the cork we cut, we've found that a shared palette turns a random pile into a cohesive gift, and our ceramic coaster ideas guide collects more categorized examples.
Which Coaster Base Should You Choose?
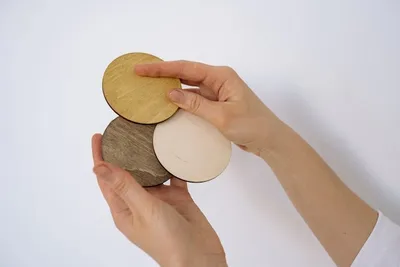
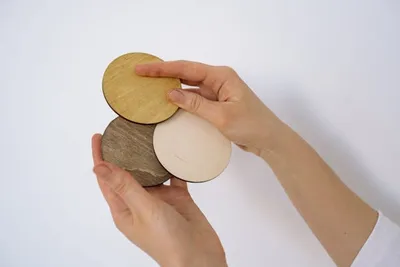
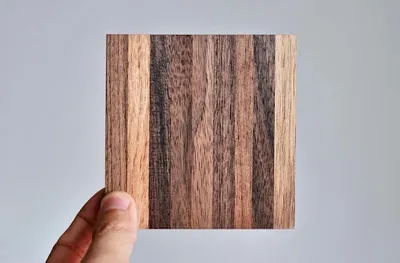
Choose the coaster base and paint together. Ceramic gives you a hard, smooth surface for crisp details. Wood and MDF absorb coatings differently and usually need more preparation.
| Coaster base | Surface behavior | Useful preparation | Paint approach | Best suited to |
|---|---|---|---|---|
| Glazed ceramic | Smooth and nonporous | Clean; adhesion primer if the paint system calls for it | Ceramic-rated or multi-surface acrylic, compatible paint pens | Fine lines, lettering, geometric designs |
| Unglazed ceramic bisque | Porous, absorbent | Wipe clean; seal or prime | Acrylic craft paint, ceramic paint | Watercolor, layered art |
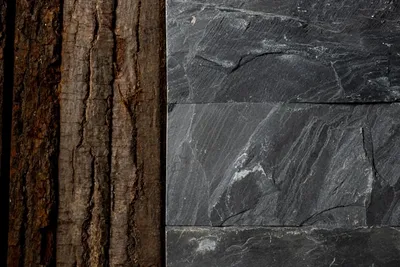
| Wood or MDF | Porous, variable absorption | Sand evenly and remove all dust | Acrylic paint or other wood-compatible coating | Rustic sets, farmhouse |
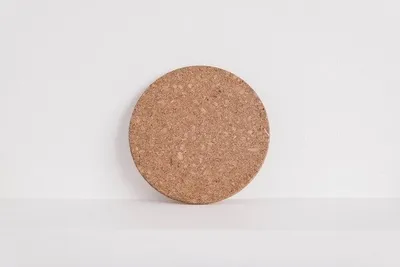
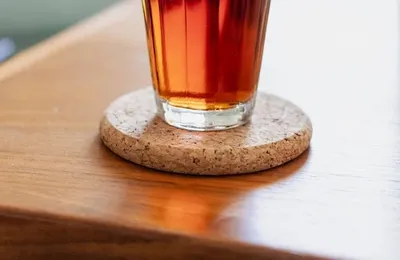
| Cork | Soft, forgiving | Wipe dust, no primer needed | Acrylic, paint pens | Quick gifts, kids' crafts |
Wood preparation has measurable effects on coating behavior. In a peer-reviewed study of teak, researchers found that wood surface roughness and acrylic-paint viscosity affected wettability and adherence. Do not turn that into one universal sanding rule; treat sanding and coating choice as part of the same adhesion problem.
How Should You Prepare The Surface Before Painting?
Prepare the surface so the paint contacts the coaster rather than dust, grease or loose fibers. Sand rough areas on wood or MDF, remove the sanding dust, and prime or seal where the paint system or absorbency of the blank calls for it.
For glazed ceramic, clean the blank according to the paint manufacturer's surface-preparation instructions. If a product calls for a primer, adhesion medium or light abrasion, follow that system rather than borrowing a preparation method from an unrelated paint. See our ceramic sealing guide for more depth on prep for tile.
Want painted coasters without the sealing hassle?
Work with us to print your design onto ceramic, tile, cork or wood coasters, with a durable factory finish and a free proof before you pay.
How To Paint A Coaster Step By Step?
The most reliable way to paint a coaster is to decide on the complete base-paint-finish system before applying the first layer.
- Choose the coaster blank. Decide between ceramic, wood, MDF or cork according to the look and design you want.
- Choose a compatible paint. Check that the paint is intended for the surface you selected.
- Prepare the blank. Clean ceramic. Sand and remove dust from rough wood or MDF. Prime or seal where the coating system requires it.
- Lay out the design. Position tape, a stencil or light guidelines before painting detailed patterns.
- Apply controlled coats. Build color in manageable layers rather than covering the coaster with one heavy application.
- Let the paint dry and cure as directed. Follow the paint maker's instructions rather than assuming every acrylic reaches its final properties on the same schedule.
- Apply a compatible finish when needed. Choose the finish according to expected moisture, appearance and handling.
- Let the complete system cure before use. Add cork or felt pads once the finished surface can be handled without marking.
If the project uses spray coatings, solvent-containing finishes or two-part resin, follow the ventilation, protective-equipment and handling requirements on the product label and safety data sheet.
How Can You Keep The Design Neat And Even?
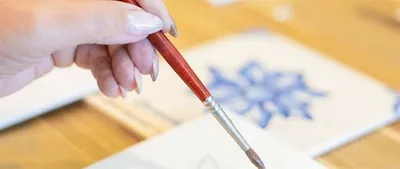
Use a foam brush for broad backgrounds and a fine brush or paint pen for detailed work. Painter's tape is useful for geometric edges, while stencils and tracing templates make repeated motifs easier to reproduce across a set.
Apply enough paint to cover the surface without leaving a heavy ridge against the tape. Before decorating the whole batch, complete one test coaster through the sealing stage. A test piece can reveal paint lifting, bleeding, color changes or finish incompatibility before the same problem affects every coaster.
Choose tile coasters for a smooth, painterly surface
Our custom tile coasters accept fine detail and sharp color, so your design looks intentional whether it's a monogram or a mandala.
Learn moreWhat Kind Of Paint For Coasters Works Best?
The best paint is one designed to adhere to the coaster material and compatible with the finish you plan to put over it. Acrylic craft paint suits prepared wood and MDF for easy brushing and broad color choice. Multi-surface acrylic covers several substrate types when the manufacturer's stated compatibility matches your base. Paint pens give precise control for lettering and outlines. Ceramic-rated paint is formulated for glazed or unglazed ceramic when listed by the manufacturer.
Some formulations need a heat cure; others use extended air cure. Neither is universal, and the wrong cure step can weaken adhesion or discolor the surface. Read the label rather than borrowing a schedule from another brand.
Can You Paint Coasters With Acrylic Paint?
Yes. Acrylic paint can be used for coaster projects when the formulation, surface preparation and protective system suit the base.
Research on wood coatings shows why "acrylic" by itself is not enough information. Surface roughness, wettability, coating composition and the substrate can all affect adhesion. Acrylic paint also should not automatically be described as waterproof. Studies of artists' acrylic films show water can enter and alter acrylic paint films under exposure conditions, though the degree depends on formulation, age and other variables.
How Can You Paint And Decorate Ceramic Coasters?
First determine whether the ceramic is glazed or unglazed. Glazed ceramic is smoother and less absorbent, while unglazed ceramic accepts liquids differently. That distinction affects preparation and paint choice.
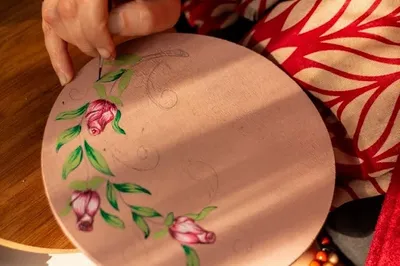
Clean the blank, apply any primer or adhesion medium required by the chosen paint, then build the design from background shapes to smaller details. If the paint system specifies an extended air cure or another curing method, follow those instructions exactly. Do not copy a curing temperature or process from a different paint brand.
Can You Use Sharpies Or Paint Pens On Ceramic Coasters?
Permanent markers and paint pens can create lettering and detailed patterns on ceramic coasters, but they are not interchangeable. A paint marker formulated for slick surfaces may behave differently from a standard permanent marker.
Standard permanent markers are typically dye-based, and light exposure affects dye-based inks more than pigment-based ones. Oil-based paint markers use pigment and generally hold color longer on nonporous surfaces. The sealer can also affect the design. Some liquid finishes can disturb or bleed marker lines, so test the exact marker-and-finish combination on a spare tile before sealing the full set. For detailed designs, draw the lightest elements first, let them dry as required, then add darker outlines. This reduces the amount of correction needed once the surface becomes crowded.
Need painted coasters that survive a wet glass?
Order custom resin-topped coasters with your artwork sealed under a glassy, condensation-proof coat, ready for the bar or the coffee table.
What Do You Seal Homemade Coasters With?
Choose a coaster finish by expected use, not simply by which finish looks glossiest. A display piece, a coaster used occasionally and a coaster that regularly sits under a sweating glass do not face the same moisture load.
Research supports the distinction. An NMR study of water diffusion in acrylic paint films measured water moving into acrylic emulsion paint and found that younger one-month films were more prone to swelling than older films. This was conservation research on acrylic paint-outs rather than a coaster trial, so it does not give a universal coaster curing time. It does show why apparent surface dryness should not be treated as proof that an acrylic film is ready for prolonged moisture exposure. We've seen more painted sets ruined by sealing at hour two than by any paint choice.
No coating category makes every coaster automatically waterproof, machine-washable, heat-safe or food-safe. Those claims require the finished system to meet the relevant product specifications.
How Do You Seal Homemade Coasters Without Brush Marks?
A compatible spray finish avoids brush contact altogether. For brush-applied coatings, use the applicator and film thickness recommended by the manufacturer and resist repeatedly brushing a coating after it has begun to level.
Dust can become more visible in a glossy finish than in the paint underneath, so work on a clean surface and protect curing pieces from falling debris. Test the finish on one spare blank first, especially when sealing marker designs or light colors. See our Mod Podge coasters guide for common sealing mistakes.
Print any design onto natural cork coasters
Cork forgives brush strokes and takes color beautifully, and we print your patterns in bulk with generous wholesale discounts.
Get startedCan Mod Podge Or Epoxy Be Used To Finish Painted Coasters?
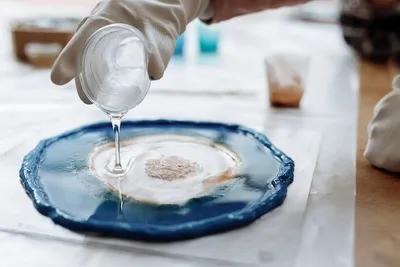
A decoupage finish such as Mod Podge and a two-part epoxy serve different purposes. Decoupage finishes are easier to apply in thin layers, while epoxy can create a much thicker glossy coating.
The exact product matters more than the category name. Check its stated resistance to moisture and its intended surface. Do not assume every decoupage formula is waterproof or every epoxy is suitable for hot drinkware.
Epoxy also adds a safety consideration that ordinary water-based craft coatings may not. A study of 209 occupational cases of allergy to epoxy chemicals found that epoxy-system components can cause allergic contact dermatitis, particularly through occupational exposure to uncured materials. Hobby exposure is not equivalent to industrial exposure, but the study supports avoiding skin contact with uncured epoxy and following the product safety data sheet.
When Should You Choose Mod Podge Or Epoxy For Painted Coasters?
Choose a decoupage-type finish when its product specifications match the moisture exposure and appearance you need. Choose epoxy when the thick, glass-like coating is itself part of the desired finish and you are prepared to measure, mix, protect and cure it correctly.
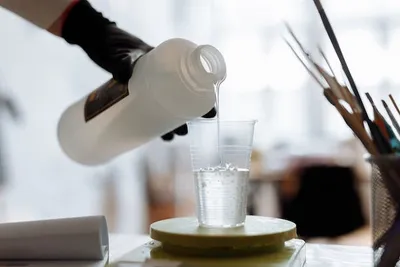
Epoxy is less forgiving. Incorrect ratios, incomplete mixing, dust and trapped bubbles can leave a poor surface, while uncured components require careful handling. Warm the bottles before mixing, mix slowly for three minutes, and cover the piece during cure to keep dust out.
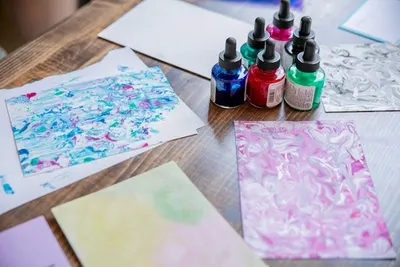
How Can You Make Acrylic Paint Pour And Math Painted Coasters?
Acrylic pouring and mathematical designs use very different methods but can both produce coordinated coaster sets.
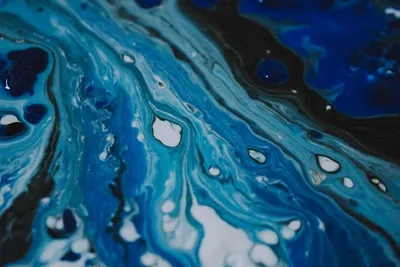
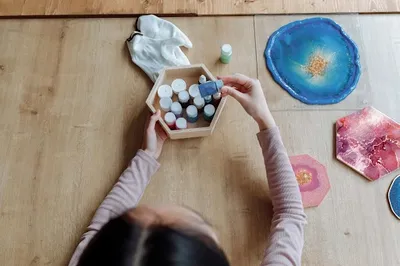
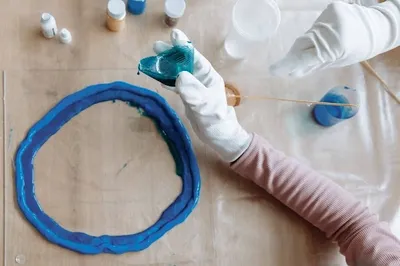
For a pour, use an acrylic system designed to flow at the consistency required for the technique. Mix colors separately, keep the coaster level during application, and account for paint running over the edges. Drips off the edges are normal; trim them with a craft knife once the pour has cured.
For a mathematical design, start with a measured grid, radial divisions or another repeatable framework. Painter's-tape geometric sections on cork are the classic "math painted" approach. A ruler, compass, stencil or tracing template keeps the geometry consistent across several coasters, and burnishing tape down before painting stops paint from wicking under the edge.
What Tips Help You Finish Specialty Painted Coasters Successfully?
For acrylic pours, keep the blank level and allow the thicker paint layer to dry and cure before adding a finish. Avoid assuming that a surface skin means the entire paint layer beneath it has finished drying.
For mathematical designs, create one master template before marking the whole set. Reusing the same reference points keeps spacing consistent without measuring every line from scratch. For either style, remove dried drips or rough edges before the protective coating goes on. When the count reaches 50 or more, our custom coasters bulk service prints your design and skips the calendar.
Frequently Asked Questions About DIY Painted Coasters
What Are Painted DIY Coasters?
Painted DIY coasters are ceramic, wood, MDF or cork blanks decorated with paint, paint pens or poured acrylics. Depending on the paint and expected use, a compatible protective finish can be added after the design has dried and reached the stage specified by the coating manufacturer.
How Should You Choose A Coaster Base?
Ceramic gives you a hard surface for crisp lines and detailed graphics. Wood brings warmth for handmade or rustic looks with priming. MDF works well when a flat, consistent surface is useful for stencils or repeated graphics. Cork forgives beginners and takes color quickly. Then check what preparation, paint and finish that base requires.